Project Timeline

1 / Initial Layout
We laid out where we would like the components we are going to be adding to be mounted for demonstration and testing. This allowed us to get a rough estimate of our space constraints and the wire lengths we would use.
2 / Component Mounting Successful
We managed to get the bare components mounted which gave us confidence in the amount of room we have to work with. We took it a step further and integrated breadboard-based prototype circuits to ensure our design ideas would be viable.
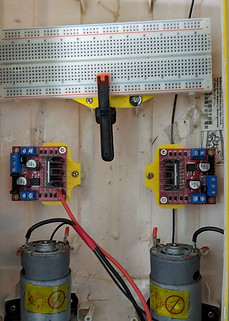
3 / Initial Controller and Motor Test
Initial Motor control was an impressive milestone, as it allowed us to test the design for temperature issues, power draw, and propulsion strength. It was done with a mock-up controller wired on a bread board for ease of use.
4 / First Long Range Connectivity Test
With this development, we confirmed our chosen communication board would be enough to transmit and receive data over the distances we set out to service at the beginning of this project. The range tests included a non-line of sight test of over 700 meters, and a line of sight test of over 2 kilometers!
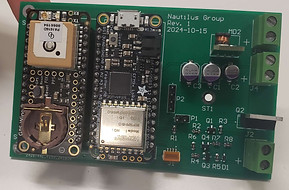
5 / Remote Operated Vehicle Integration Board
The Integration PCB was a massive milestone, allowing us to fully integrate the various pieces of technology we have access to onto one single board. This board was tested repeatedly, and improvements were noted to make a second version even more successful.
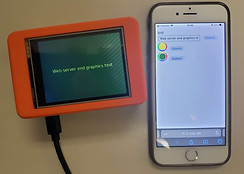
6 / Home Station and Web Service
Approaching the end of the project, we have successfully tested and integrated the home station interface that will eventually be used to notify of activated OBLs. The home station will passively feed the GNSS data to the ROV for location and navigation.


